03/02/00. Copyright 2000.
Return to the Feature Articles Index.
-
The Jazzmaster was introduced by Fender in 1958.
What follows is an inside view of a late 1958/early 1959 Fender Jazzmaster.
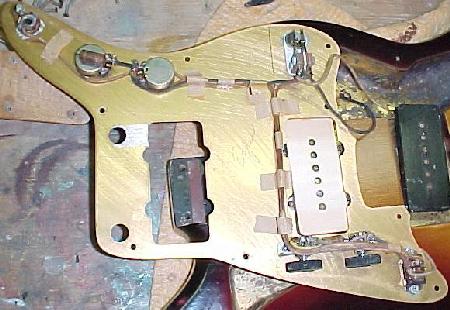
The most notible thing about 1958 to the summer of 1959 Jazzmasters is the metal anodized pickguard. The pickguard is amazingly thick, at about .100 of an inch. This guard provides good looks, and sheilding to boot. Unfortunately starting in the summer of 1959, Fender changed to a white/black/white/tortoise celluloid pickguard (except on certain custom color Jazzmasters, which had a white/black/white celluloid pickguard instead). I'm not sure why they made this change. The celluloid pickguards did wear better though. As you can see in the pictures below, there is a large wear spot in the middle of the metal pickguard.
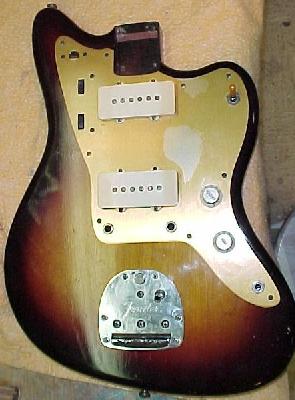
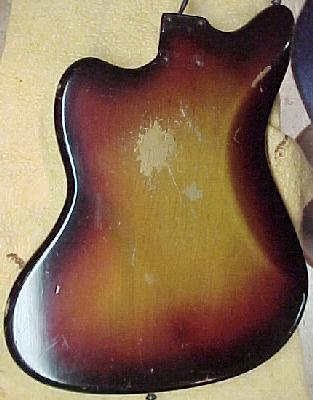
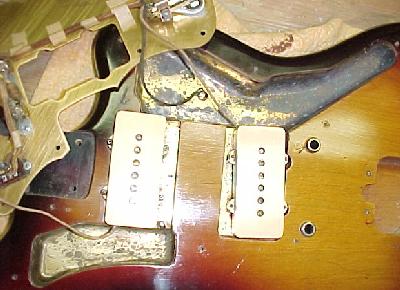
Below is a picture of the Jazzmaster body with the pickguard removed. Note the pickups stay in the body when you remove the pickguard. You can also see the extensive brass shielding used inside the Jazzmaster's body routes. This body route shielding can be easily removed from the body. The entire pickguard, pickups, and route shields can be removed without unsoldering anything! For this reason, you can't assume a jazzmaster has it's original finish just because the solder joints are untouched.

Here is the front view of the metal anodized pickguard. Note the wear spots. This happened because the front (only) of the original pickguard was clear coated with lacquer, to help prevent oxidation and to increase smoothness, gloss and buffability (a similar thing was done on 1950 to 1954 Fender Broadcaster/Telecaster black pickguards). Reissue anodized metal pickguards aren't clearcoated, so they are easy to spot (Mighty Might made a bunch of really nice anodize Strat pickguards in the 1970s that look very original, except they don't have the lacquer coating on the front). Also note the switch tip. Until about 1961, Fender used bakelite style amber switch tips, just like Gibson (yes Gibson-aholics, that switch tip would look and work perfectly on your 1957 Les Paul goldtop!). The volume and tone knobs are the exact same knob as used on Stratocasters of that time period.
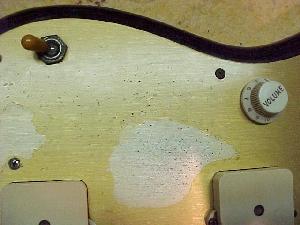
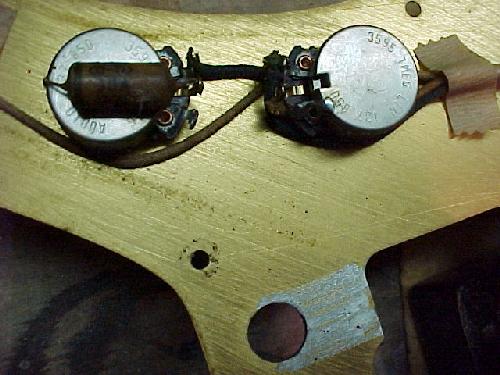
Here are the volume and tone pots. The pots have a source/date code of 137 850. That means CTS (137), and 1958, the 50th week (850). See how the pickguard was sanded by the hole for the bridge. This accomodates the bridge grounding wire, allowing ground continuity between the bridge and the pickguard.
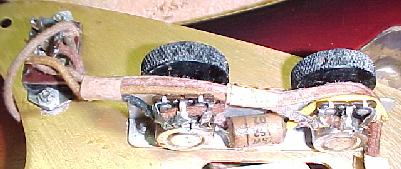
This pictures shows the two roll off mini-pots and switch from the bottom side of the pickguard. These roll off pots allow the player to "pre set" a tone, then turn the tone controls completely off or on with the toggle switch. Note both roller pots work on the neck pickup only. The forward-most roll pot is a pre-set volume. The aft-most roll pot is a tone control. Then the upper switch controls whether the upper circuit or the lower circuit is in play. The up position of the switch puts the upper circuit in play and the lower, the lower.
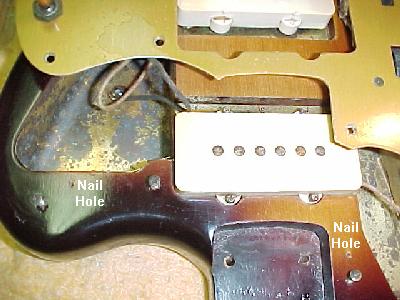
The "nail holes" used to hold the body when being painted. A finish nail is driven into the body at several positions to act as "feet" to elevate the body during finish spraying, and to allow it to dry. Later the nails are removed and discarded. The nail holes should always be evident and NOT filled with paint! If the nail holes are missing or have paint in them, the body was refinished. Fender used this nail technique until about fall of 1964. See here for more details on Fender paint techniques.
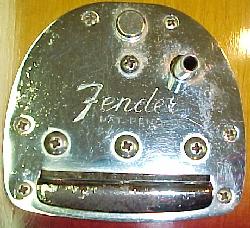
The Jazzmaster tremolo as used throughout this model's history. The body route is quite deep. The bottom side of the metal tremolo system is shown here too.
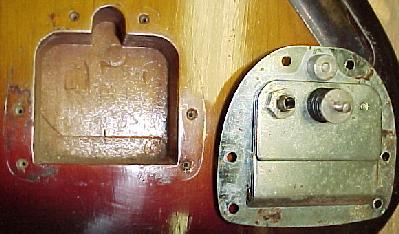
The top (face) side of the Jazzmaster trem. The hole is where the (exceedingly long) tremolo arm is mounted.
The underside of the Jazzmaster pickguard. Can you see the pencil signature between the two pickups on the pickguard?
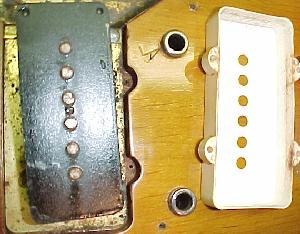
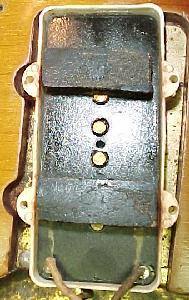
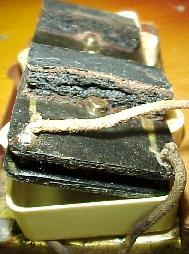
The Jazzmaster pickups. The pickups are big, but the are not very thick (deep). The pickups measure at just under 8k ohms. So compared to a Strat or Tele (usually around 5.5k), they are hotter. But in reality, they don't sound that way.
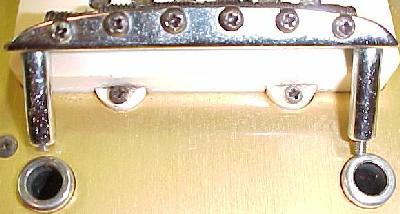
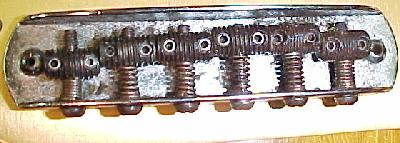
The Jazzmaster bridge. Note the small threaded screws at the bottom of the bridge's long anchor studs. This allows for course adjustment of the bridge height. Then each individual saddle is adjustable for height and intonation.
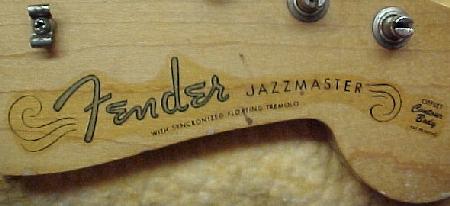
The Jazzmaster peghead decal. Note the "offset contour body" portion is connected to the logo portion (unlike the Stratocaster, where these are two discrete decals).
